Lay of the Land beginner guide
This is a practical Lay of the Land walkthrough opening: what to do first, what to avoid, and how the game’s physics-first crafting changes every habit you brought from menu-driven sandboxes. For a broader hub, start at the Lay of the Land wiki home.

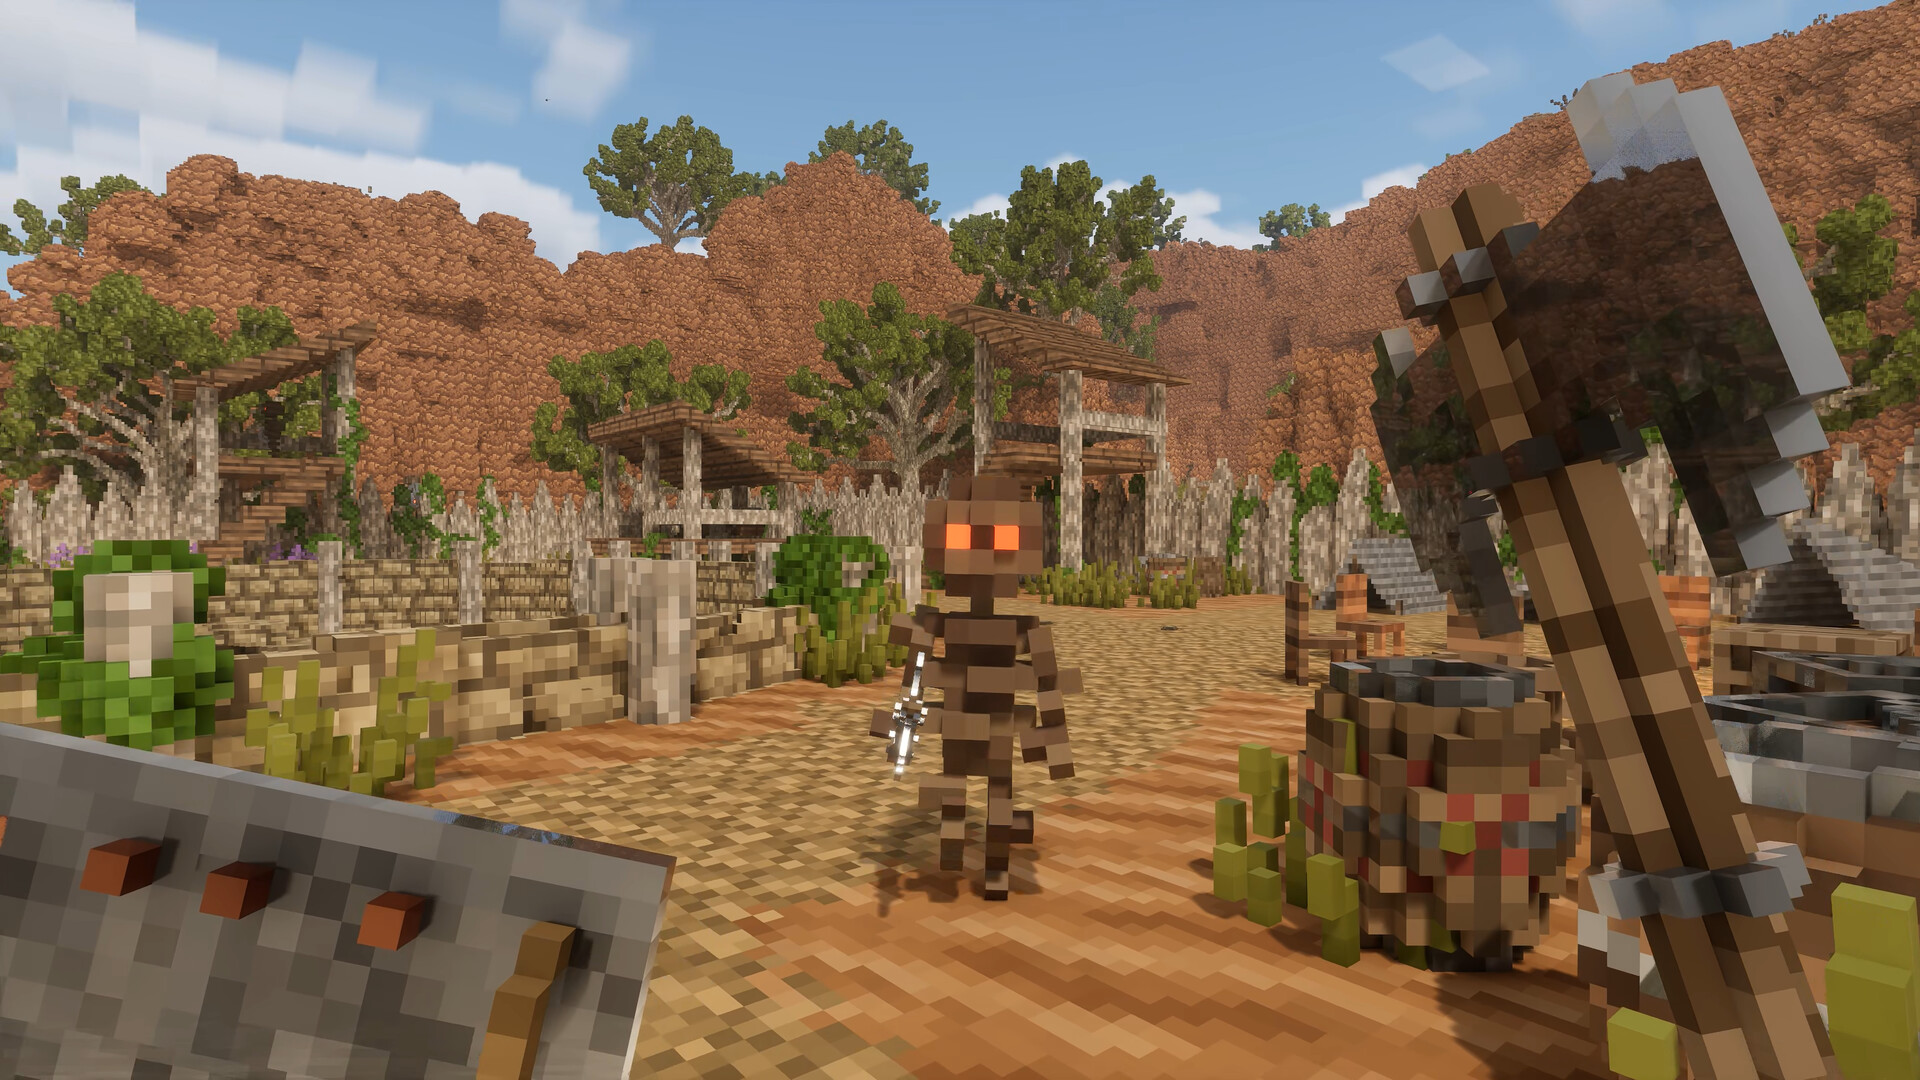
Day 1: survival basics
You begin near the Marble Gazebo, a safe reference point you will see again if you die without a bed. Your first objective is not “progression”—it is stability: tools to gather faster, food to recover health, light to push enemies back, and a bed to anchor respawns. The world simulates fire, water flow, collapsing sand, and hazardous gas, so treat every cave and every torch line as a system, not decoration.
Punch vegetation for sticks and plant fiber. Scan the ground for flint nodules. The Lay of the Land guide loop for early tools is simple: collect → place on a flat surface → align carefully → wait for physics to resolve the merge. If nothing happens, you usually need a flatter slab, fewer collisions, or a different arrangement—see the crafting guide for troubleshooting.
First tool: wooden axe
- Gather three sticks and one flint; find a flat stone surface for predictable collisions.
- Place components so they contact cleanly; rotate pieces if the simulation rejects the overlap.
- Wait for the combination window; pick up the axe and immediately upgrade wood income.
- Do not sprint into night combat—use height, firebreaks, and temporary walls while learning timings.
The four core systems
1. Physics crafting
Items exist in the world. Many recipes are emergent assemblies rather than hidden UI buttons. Mastering flat surfaces and spacing is the difference between frustration and flow.
2. World simulation
Fire spreads, liquids move, and terrain can fail under weight. Use that against enemies—or accidentally against yourself if you tunnel without supports.
3. Combat triad
Melee, ranged, and magic each answer different threats. Start durable, then specialize once you have backup weapons and food.
4. Building toolkit
Procedural shapes accelerate bases. Read the building guide before you hand-place every wall.
Night one checklist
- Craft rope from fiber bundles; rope becomes the glue for early tool chains.
- Secure calories: forage, cook at campfires once you have basics, and keep spare fuel.
- Place torches on approaches, not only at your door—wolves respect light differently than you expect.
- Scout a short retreat path: cliffs, shallow water, or narrow gaps you can defend.
- Plan your first bed: wool plus planks once sheep and wood are reliable—details in FAQ below.
Beginner FAQ
What happens if I die before building a bed?
You respawn at the Marble Gazebo. Prioritize a bed once wool and planks are available so your base becomes the anchor point for risky exploration.
Why does my crafting layout fail silently?
Usually the surface is uneven or pieces are colliding without valid contact. Retry on wide stone slabs, remove clutter, and verify recipe shapes in the crafting guide.
When should I leave the starter forest?
After you can heal reliably, carry spare tools, and navigate by landmarks. Deserts and mountains escalate both rewards and hazards—read biomes before committing.